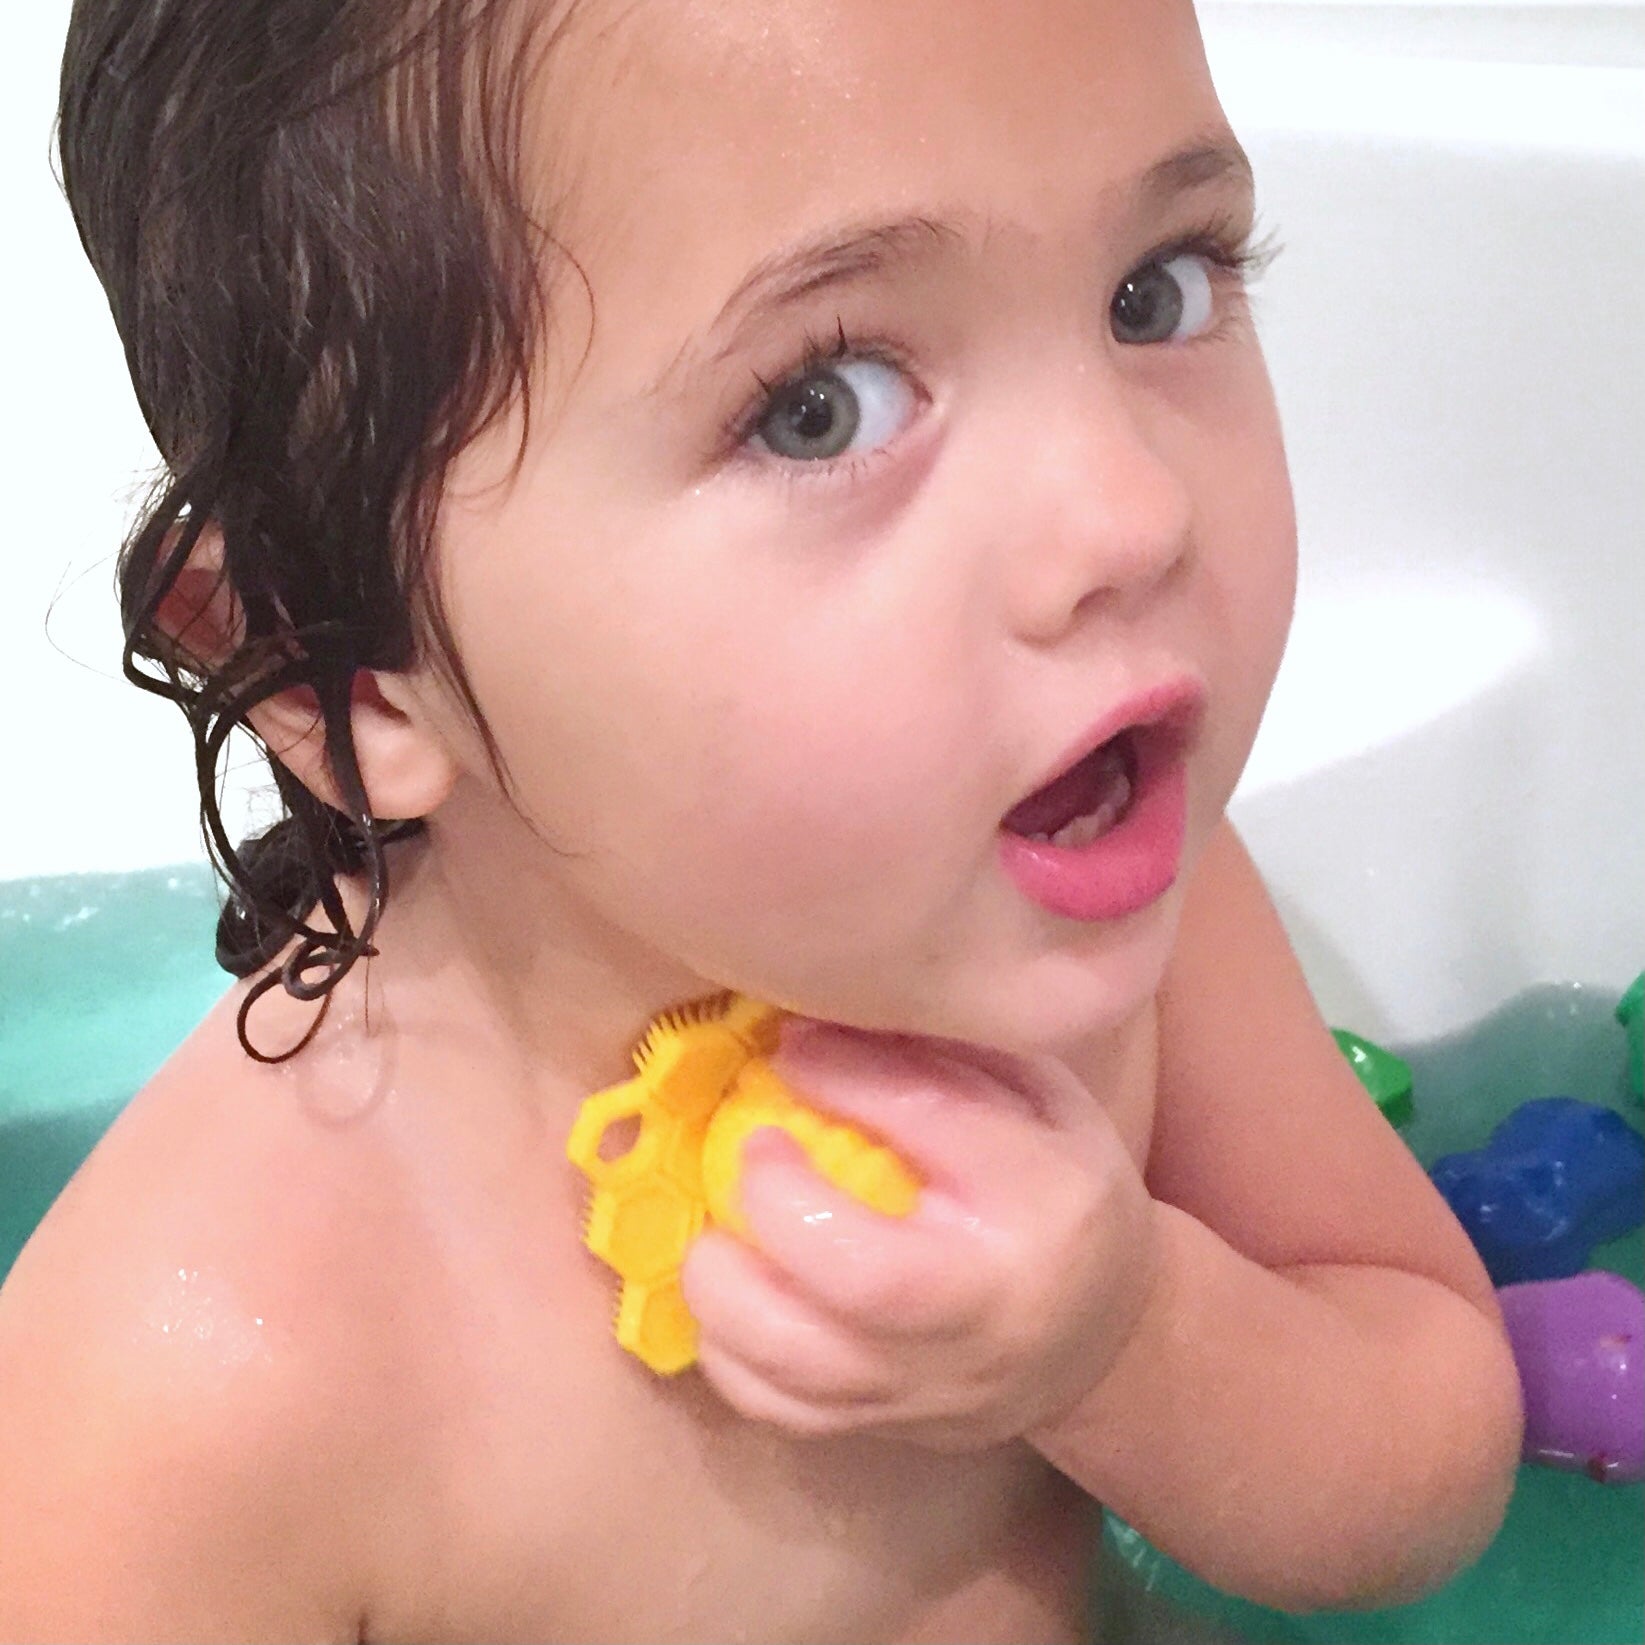
“I can do it myself!”
Heard that line before? If you have a toddler or preschooler, I have a feeling you hear it a lot. And although hearing those words often results in frustrating delays getting out the door, delays getting out of the car, etcetera, developing independence is of course a great thing. As a parent (and as a former teacher), I’ve always tried to encourage this growth.
The idea for the ScrubBEE came about when the Little Bee was about 2.5 and really started to assert her independence. She was completely dressing herself, and she wanted to wash herself too. While I certainly wanted to empower her, I did want her to get fully clean. She couldn’t do much with a washcloth, she couldn’t get a good grip on a floppy sponge, and the plastic loofahs were just too big to get in all her little parts. And at the end of the day, those things were traps for yucky stuff.
When I couldn’t find the right tool to help her, I decided to make one. So I thought about all the features I would love to see in a kids’ scrubber:
- A handle that’s easy for kids to grip
- Bristles that are very soft and gentle, yet effective enough to get the job done
- Small enough to clean all their little parts
- No hollow spaces to trap water (so yucky stuff can’t grow inside)
- Lasts for years
Yes, that was a tall order, but I believed it was entirely doable.
Let’s start with the easiest parts…
I knew immediately that I wanted to work with silicone. Yes, it would present challenges when achieving bristle softness, but I knew that material could easily achieve the “lasts for years” goal. I also loved that a product made entirely of silicone could be easily sterilized by simply throwing it in a pot of boiling water for a few minutes.
The fact that I required “no hollow spaces” meant additional cost (silicone isn’t cheap), but it wasn’t difficult to accomplish. It just meant making sure whatever handle I designed was solid silicone.
Getting the appropriate size and shape worked out was probably the most fun part of the whole thing. And it all started with an EOS lip balm and a cellulose sponge. (EOS is the brand that makes that little egg shaped lip balm container.) To find the right size, I was going to start by looking around our house for an object that was about the size and shape of what I’d envisioned. Marlo and I were sitting in the kitchen at the time, and right behind her high chair was our junk drawer. So I looked in there first. And there was the EOS. It was a perfect fit! Things don’t usually come together that easily, but that time it did. No complaints!
While the EOS container was the right size and general shape, I felt the surface was too smooth for our purpose. Considering the facts that toddlers don’t have fully developed fine motor skills and objects get pretty slippery around soap and water, I knew that the handle needed texture in order to ensure that little ones could get a nice, firm grip on the handle when scrubbing.
Since I can never resist a play on our brand name, I went with a beehive. The ridges of the beehive shape served the purpose perfectly. Then I added some little bees flying around the outside for a bit of extra texture and cuteness.


To determine the right diameter for the bristle base, I took an average cellulose sponge and trimmed it until I found the size that best fit into Marlo’s armpit. Hey, I didn’t say this process was glamorous!
Now for the tough part: the bristles. The design element that took months and months and months to dial in.
Many silicone scrubbers have short bristles. But we found that longer bristles led to a gentler feel and also created a better lather. Additionally, the tapered bristle design allows us to get the stability at the base of the bristle and an ultra fine point at the top for ultimate softness. Longer, finer bristles meant a greater chance of them breaking off in the production mold, but it was a chance (and expense) we were willing to take to ensure they were perfect. I can’t even remember how many adjustments we made to the bristles before we finalized them.
Notice how the bristles are grouped in little hexagons? That extra space around each cluster contributes to the movement of the bristles. We found that if the bristles are tightly packed (the way they are with most silicone scrubbers), it limits their movement. And increased movement of the bristles creates a better experience overall.

Note: The ScrubBEEs pictured here are from the original 3D print. The bristle taper had not yet been determined and the hanging loop had not yet been narrowed (it was adjusted to avoid little pinkies getting stuck!).
Seems like a lot of attention for just a little bath scrubber, right? Not for us. We believe attention to detail can make or break a product. Why make something good when you can make it fantastic? And for the ScrubBEE, the proof is in the pudding. Or should I say, the proof is in the 5-star Amazon reviews? ;)
Quickly after launching the ScrubBEE, requests started coming in to release a size for adults. It didn't happen immediately (molds are expensive!), but we got there eventually. How did I determine the right size? Using Play-Doh and glue of course!
Using an existing ScrubBEE handle, I added a layer of Play-Doh to the outside until we had a size that better fit an adult hand. For the base, I cut up a couple of existing bases and glued parts of them to the perimeter of an existing ScrubBEE base until we had the right diameter.


I took these dimensions and created a 3D design file, then followed with a 3D print. You know where I did that? The local library! It was going to be tricky to print the bristles with the equipment they had, but we really didn't need to print them at all. The bristle shape wasn't changing between the Original ScrubBEE and Big ScrubBEE, so we printed only the part we needed to test the size.

The print proved that the dimensions were great, so I sent the 3D file to our factory and the rest is Big ScrubBEE history!
Thinking of making your own product? Remember that prototypes don't have to be fancy. Start where you are with what you've got. Sometimes scissors, glue, and Play-Doh are all you need to get to the next step!

